Its currently undergoing a slow restoration in small stages, time being the factor at the moment.
So far I've replaced the critical components in the flyback section, as all the wax capacitors were leaky and resistors were way off as well. Also the1B3GT EHT rectifier valve was also gassy so this didn't help things initially and there was also a brightness problem due to the picture tube being cutoff, cause insufficient grid volts caused by leaky caps so after fixing that it now has a picture of sorts.
This early chassis was based on an Australian design and was known as the '35' series and said to be a good performer. Several variants of this chassis were used in all AWA & Murphy sets of the time.
There are an awful lot of resistors and caps to be changed so its going to take some time. The mustard coloured resistors used in this are all way off, like the Pye T22X they will be replaced.
I've started a video diary on YouTube in regards to this set, here is the link - http://www.youtube.com/watch?v=8CThn6yz8fE&feature=g-upl&context=G2c1cf0aAUAAAAAAATAA
Thats all on this one for now, I'll post with updates as progress is made.
The first few photos were taken with my new Ipod touch 4G at the time, image quality is ok, but the digital camera is far better.
8/6/2012 - Some slow progress has been made on this set, I've replaced a handful of components around the EHT/flyback section, all the resistors and low value electrolytics were well past their use by date, no wonder the width was lacking in size initially. Also worked on the vertical section as well, replaced a number of drifted resistors and leaky wax capacitors. So the result is now a watchable picture, not bad considering the rest of the chassis is still pretty much 80% original. So once I start replacing more parts, things should start improving. There is an issue with the top linearity, the control is at one end and thats the best I can get it for now, but no doubt theres another resistor or cap thats way off value.
So thats all for now folks! See the recent pictures added.
27/12/2012 (Photos Added) - Finally this set is done! All cleaned up cabinet wise, fully re-capped and almost all the resistors too. The resistors that were in this were off and some of them had even drifted oddly enough to the next preferred value, which made me wonder if they were incorrectly marked while being manufactured...who knows? But at least they're out of there and won't cause any further problems.
The restoration took longer than expected, I just kept plugging away at it slowly so rather relieved that its come to an end.
But... I did have a couple of problems along the way...The first was intermittent hum bars that would come and go at will, at the time I thought it was just some of the old caps that were still in place, but after replacing all them and the rectifier diodes the hum bars were still there.
Scoping the B+ rails one of them clearly showed this 'blip' of noise moving along in time with the hum bar on the screen.
My next thought turned to the valves, thinking that maybe one of them had an internal short possibly due to the filament supply leaking AC across internally to somewhere it shouldn't be. As it turned out I found 'several' of them with multiple shorts the 6EB8 video output valve being the worst!
Once I replaced the crook valves and powered on again, the hum bars had vanished.
The next problem was towards the end of wrapping this up, I went through all the adjustments including the horizontal oscillator. Got that all done, had the picture all centered and locked nicely, powered the set on the next night from cold and found the sync to be way off.
After about 30 seconds the sync locked in again but the picture was way off to one side and I could see it slowly creeping back into line, after about 5 minutes it was normal again.
My thoughts about this turned to one of two things, faulty mica caps in the circuit as there were a couple and there was one in series with the hold control and the grid of the 6CG7 or the valve itself.
I changed that mica cap as it was well below its value of 330pf, this didn't really improve things so popped in another 6CG7 and problem solved!
So much for the original valve testing OK! I think in future I'll have some good know substitute ones handy for future niggly things like this.
So now its all back together and running very well, despite the CRT being on the weak side it still gives a very nice picture.
This is the first time I have overhauled one of these particular AWA/Murphy 34/35 series and have to say the contrast and definition is really good. I guess a good circuit design plays a part in this as well. If the picture tube was good the results would stunning I bet.
I've got two more variants of this to do so looking forward to getting to those eventually. They're both consoles and one of them is mint and low use so that should really respond to some work.
Now I can move onto something else, have plenty more to choose from...unsure what one I'll start on next... as for this one...The End!
 | ||
| Restoration Complete 27/12/2012. First photos and progress below. |
 |
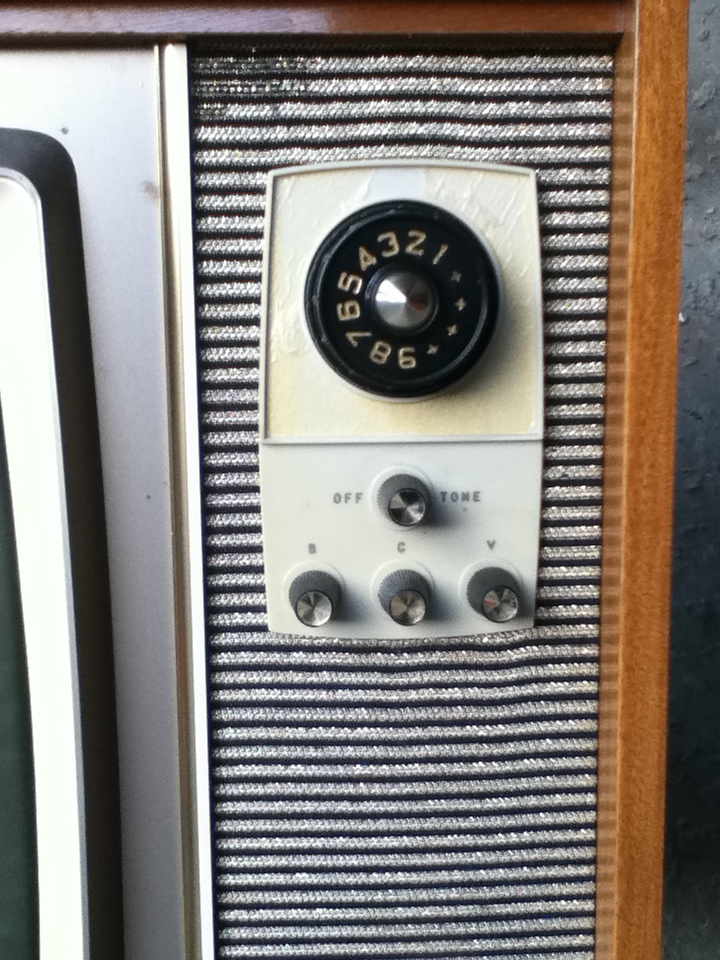
| Initial Look |
 |
| First glance inside |

 | |
| Underside of the chassis...Look at all those crusty old resistors and caps.They're just waiting to cause trouble! |
 |
| New boost capacitors installed. These are crucial to ensure the line output stage operates properly. |
 |
A picture of sorts...at least its working, well kind of!        |
great work. we had a set like that way back in the 60s when I was young. nice to see one working again.
ReplyDeleteThanks much appreciated :-)Cheers Glen
Deletehttp://radioawa.blogspot.com
ReplyDeleteThanks much
awesome, ive been wanting to buy a vintage tv, anything for sale?
ReplyDelete